


Introduction.
Managing states is one of the fundamental aspect of any web application. In React, there are different types of states we developers have to keep in mind and manage when building which includes; Local State, Global State, Server State, and URL State. The importance of any of these mentioned states depends on the type of application the developer is trying to build.
In this article, we are going to look at two of the most important features in React, useState and Context API. Their benefits, why we need them, when to should use them, and the drawbacks.
Prerequisites.
We will be building a small React application in the course of this article, therefore a fundamental knowledge of React is required to fully grasp the concepts talked about in this article.
What is a State/State management in React?
In React, the process of storing and modifying a component's data or state is referred to as state management. It is employed to keep track of data changes and render UI elements in accordance with the most recent state.
As mentioned earlier, there are different states that needs to be managed in React depending on the size and type of the application being built, they are;
Local State: This is the data we handle in one or another component. For example, to store and display a text entered through a form in a particular component.
Global State: The data maintained across multiple components is called the global state. For example a user authentication data, we need to know anywhere in our application whether a user is authenticated or not, hence the need for such data to be globally available through the entire app.
Server State: Data that originates from an external server and must be rendered in or integrated with our UI state.
URL State: Data that exists in the URL, including the pathname and query or route parameters.
We will be focusing on just the Local State and the Global State in this article, so let's proceed by boostrapping our React application. Navigate to a preferred directory on your local machine and run the following command to create a new React project called react-context.
npx create-react-app react-context
Once the project has been created, navigate into the src folder and create a folder named components which will house the different components we will build as we proceed. Also, delete all unnecessary files until you have a file structure like this:

In the components folder create two components GameList.js and Game.js. Inside the GameList component add the following code.
import React, { useState } from 'react';
import Game from './Game.js';

function GameList() {
  const [games, setGames] = useState([
    {
      id: 1,
      name: "Assassin's Creed",
      year: '2016',
      cost: '90',
    },
    {
      id: 2,
      name: 'Agent 47',
      year: '2000',
      cost: '40',
    },
    {
      id: 3,
      name: 'Spiderman',
      year: '2018',
      cost: '80',
    },
    {
      id: 4,
      name: 'Call of Duty: Modern Warfare 3',
      year: '2011',
      cost: '105',
    },
    {
      id: 5,
      name: 'Elden Ring',
      year: '2022',
      cost: '60',
    },
  ]);
  return (
    <div>
      {games.map((game) => (
        <Game name={game.name} cost={game.cost} year={game.year} key={game.id} />
      ))}
    </div>
  );
}
export default GameList;
In the above code, we imported the useState hook, which is the React hook that helps us track state in a functional component, it can take in any type of data type, both primitive and non-primitive. We also imported the second component we created, Game, because we are going to use it as a child of GameList component to render the list of games. Then we proceeded to create a state variable games using the useState hook to hold an array of objects containing all our games data. In the return statement, we then use the map array method on the games state variable to render a Game component for each of the games in the games state.
We passed down the game.name, game.cost and game.year as props to the Game component through the name, cost, and year props respectively. This is the natural way of passing data in a React application, from a parent component down to a child component. The data can now be destructured and made use of in the child component file as we will see in a moment.
And finally we exported the entire component as a default export so it can be used anywhere else in our app.
In the Game.js file, add the following code:
import React from 'react';

function Game({ name, cost, year }) {
  return (
    <div>
      <h3>
        {name} (<em>{year}</em>)
      </h3>
      <p>#{cost}</p>
    </div>
  );
}

export default Game;
Here, we simply created a functional component Game and extracted the props passed down to it from the parent component GameList and used those props to render a div containing a h3 tag that renders the movie name and year released, and also a p tag that renders the cost to buy that game in a store. And as always we exported the Game as a default export to be used elsewhere.
At this point our App.js should look like this, to properly render the GameList component.
import GameList from './components/GameList';

function App() {
  return (
    <div className="App">
      <GameList />
    </div>
  );
}
export default App;
And if we test the app in the browser, we should have this:

Lifting up the State.
Now, let's say we want to have a simple nav bar that shows the title of our app and the number of games in our games list. To achieve that, we create a NavBar component, but inside the NavBar component, we need access to games array state variable so we can get and display the number of games in that array. With the way our app is currently set up, we do not have that access, so a momentary solution to this problem is to Lift up the state into a higher component, in this case the App component in order for other child components, NavBar and GameList to both have access to the state variable by passing it down to them through props.
In the NavBar component, add the following code. Some minimal inline styling have been added just to make it look a bit nice.
import React from 'react';

function NavBar({ games }) {
  return (
    <div
      style={{
        backgroundColor: '#3A66DB',
        padding: '0.5rem 0',
        display: 'flex',
        justifyContent: 'center',
      }}
    >
      <div
        style={{
          display: 'flex',
          justifyContent: 'space-between',
          alignItems: 'center',
          width: '50vw',
          color: 'white',
        }}
      >
        <h3>Favourite Games</h3>
        <p>List of Games: {games.length}</p>
      </div>
    </div>
  );
}
export default NavBar;
The GameList component now looks like this:
import React from 'react';
import Game from './Game.js';

function GameList({ games }) {
  return (
    <div style={{ textAlign: 'center' }}>
      {games.map((game) => (
        <Game name={game.name} cost={game.cost} year={game.year} key={game.id} />
      ))}
    </div>
  );
}
export default GameList;
And the App.js now has the following content after lifting up the state into it:
import React, { useState } from 'react';
import GameList from './components/GameList';
import NavBar from './components/NavBar';

function App() {
  const [games, setGames] = useState([
    {
      id: 1,
      name: "Assassin's Creed",
      year: '2016',
      cost: '90',
    },
    {
      id: 2,
      name: 'Agent 47',
      year: '2000',
      cost: '40',
    },
    {
      id: 3,
      name: 'Spiderman',
      year: '2018',
      cost: '80',
    },
    {
      id: 4,
      name: 'Call of Duty: Modern Warfare 3',
      year: '2011',
      cost: '105',
    },
    {
      id: 5,
      name: 'Elden Ring',
      year: '2022',
      cost: '60',
    },
  ]);
  return (
    <div className="App">
      <NavBar games={games} />
      <GameList games={games} />
    </div>
  );
}
export default App;
Our app now looks like this:
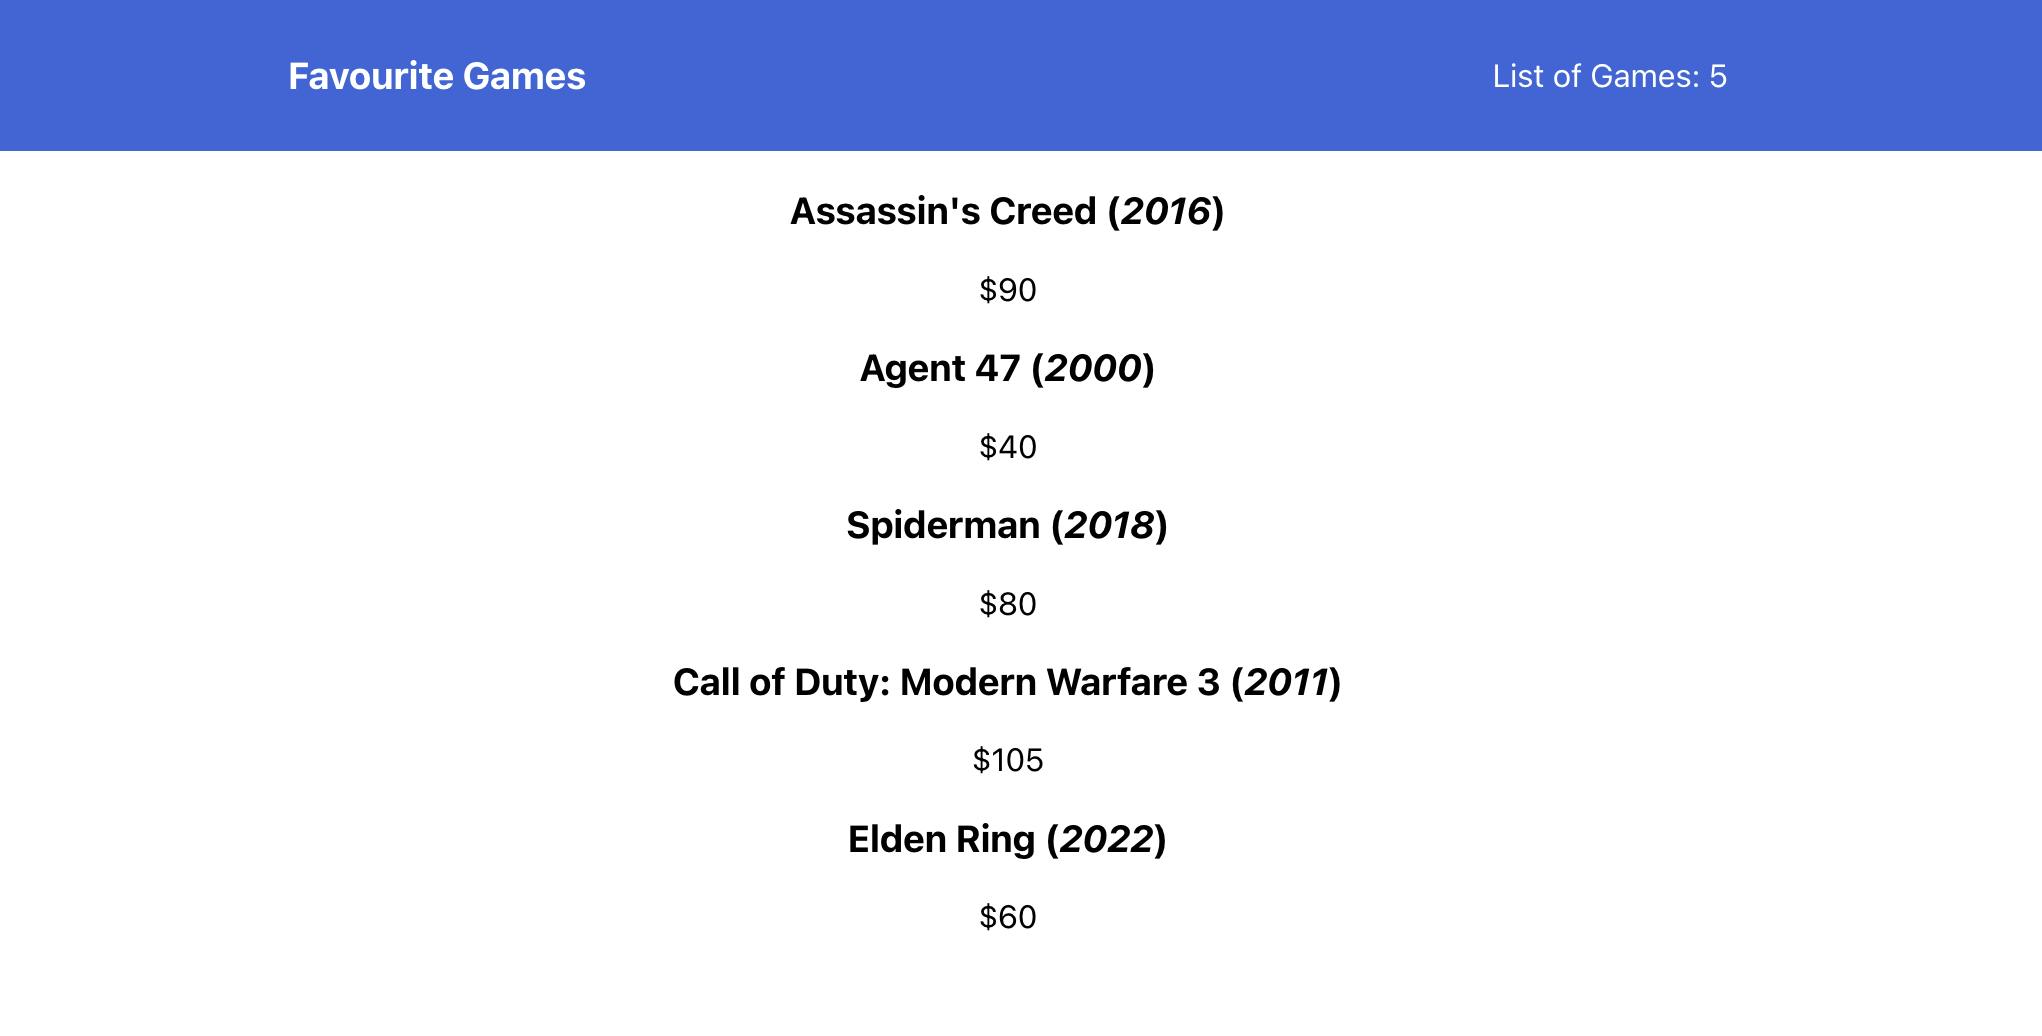
Prop Drilling.
Prop drilling in React is the process of using props to send information from a high-level component to a low-level component. This is necessary when components are nested and they need access to information that is not supplied to them directly. This method, however, might result in verbose and repetitive code and make it challenging to control data flow in a more complex application.
The problem now presented by our momentary solution of lifting up the state in our app is that we are prop drilling our state data. For example, in our app, to get the required games state to the Game component, we first have to pass it to the GameList component through props, then further pass it down to the Game component itself so it can be used.
Now imagine we have multiple deeply nested components that need a particular state variable, this approach will quickly make our code quite tedious to write and maintain. As earlier mentioned in this article, lifting up the state and only passing data down through props might be sufficient for a small application, but if building complex and robust application is the goal, React provides a better way to handle this.
Enter Context.
To avoid the problems of prop drilling, the Context API was introduced in React version 16.3. According to the React documentation, Context offers a method for automatically passing data down the component tree from parent to child components rather than needing to manually feed props at each level.
In essence, the components that want a prop can simply ask for it, avoiding the requirement for intermediary helper components that serve primarily to transmit the prop. This saves time and energy.
Creating a Context: Context Provider.
To create a context, we need to create a provider file which is going to hold the context provider function and serve the data saved in the context to whichever component that needs it.
Now let's create this provider in our app. Navigate to the src folder and make a new directory called contexts, inside here we create a new file GameContext.js this is where we will create our context and the provider that makes it available to other components.
In the GameContext.js file add the following code:
import React, { useState, createContext } from 'react';

export const GameContext = createContext();

export const GameProvider = (props) => {
  const [games, setGames] = useState([
    {
      id: 1,
      name: "Assassin's Creed",
      year: '2016',
      cost: '90',
    },
    {
      id: 2,
      name: 'Agent 47',
      year: '2000',
      cost: '40',
    },
    {
      id: 3,
      name: 'Spiderman',
      year: '2018',
      cost: '80',
    },
    {
      id: 4,
      name: 'Call of Duty: Modern Warfare 3',
      year: '2011',
      cost: '105',
    },
    {
      id: 5,
      name: 'Elden Ring',
      year: '2022',
      cost: '60',
    },
  ]);
  return (
    <GameContext.Provider value={[games, setGames]}>{props.children}</GameContext.Provider>
  );
};
In the above code, we start by importing useState which we will use to declare the state variable, and useContext, which is the method provided by React to create a context, then we created the context variable GameContext using the useContext method we've just imported.
We then declare the provider function GameProvider that takes in props, and we move our state variable games from App.js in here. Finally in the return statement, we return the <GameContext.Provider /> element and pass in the value of the state variable games and the setter function setGames to the value prop, then we pass in props.children to make whatever value being exported by the Provider available to all the enclosing child components.
useContext.
To use the context we have just created in any component of choice, React has made available the useContext method, which is designed for consuming Contexts in a React application.
Therefore, our GameList.js component we now look like this:
import React, { useContext } from 'react';
import Game from './Game.js';
import { GameContext } from '../contexts/GameContext.js';

function GameList() {
  const [games] = useContext(GameContext);
  return (
    <div style={{ textAlign: 'center' }}>
      {games.map((game) => (
        <Game name={game.name} cost={game.cost} year={game.year} key={game.id} />
      ))}
    </div>
  );
}
export default GameList;
We import the useContext method from React and also the MovieContext context file we created to make it available for use in this file.
We can now destructure out the state variable we want from the context by doing const [games] = useContext(GameContext); and perform our normal operation on it as we want.
The same thing can be done in the NavBar.js component:
import React, { useContext } from 'react';
import { GameContext } from '../contexts/GameContext';

function NavBar() {
  const [games] = useContext(GameContext);
  return (
    <div
      style={{
        backgroundColor: '#3A66DB',
        padding: '0.5rem 0',
        display: 'flex',
        justifyContent: 'center',
      }}
    >
      <div
        style={{
          display: 'flex',
          justifyContent: 'space-between',
          alignItems: 'center',
          width: '50vw',
          color: 'white',
        }}
      >
        <h3>Favourite Games</h3>
        <p>List of Games: {games.length}</p>
      </div>
    </div>
  );
}
export default NavBar;
Finally, to use the provider function GameProvider exported from our context file, we proceed into our App.js file and use it like so:
import React from 'react';
import GameList from './components/GameList';
import NavBar from './components/NavBar';
import { GameProvider } from './contexts/GameContext';

function App() {
  return (
    <GameProvider>
      <NavBar />
      <GameList />
    </GameProvider>
  );
}
export default App;
Here we basically wrap the components that need to use the state variable made available through the context inside the GameProvider element. This stop the need to individually pass the state variable down to the components and stops prop drilling which is primarily the major reason the Context API was created.
The Drawback.
The Context API in React has a key flaw in that it can cause components to be tightly coupled, which makes managing and maintaining the data flow in larger applications challenging. This is due to the Context API's reliance on components subscribing to context changes and updating their state accordingly. Essentially, everytime a context state changes, every component wrapped in or subscribed to that context will re-render, this can cause some performance issues as the application grows more complex.
Conclusion.
In conclusion, the React Context API is a powerful tool for managing state and data flow in React applications. It allows for the creation of centralized stores of data that can be accessed from any component within an application, without the need for props drilling. The API is easy to use and understand, making it a great solution for managing state in medium to large-scale React applications. The use of context also results in cleaner and more maintainable code, as well as improved performance. With its many benefits, the React Context API is definitely worth considering as a go-to solution for managing state in React applications.
Other tools like Redux maybe more suitable for state management in more complex applications, but I'd argue that using Context API alongside other React hooks such as useReducer will pretty much serve the majority of your needs.
Related Resources.
Here are some helpful resources I came across while researching and writing this article.
Managing State - React Docs
React Context API: A deep dive with examples - Adebiyi Adedotun | LogRocket
Code to the mini project build in this article can be found in this GitHub repository: